Minecraft Modded Server
This personal project was completed in Summer 2021, and was inspired by the extra computer parts I had lying around. My friends were annoyed by the monthly pricing of the Minecraft hosting services so I decided to make my own server instead.
This project motivated me to learn the fundamentals of web/game server operation in Linux while also helping me practice commands in SSH. It also gave me hands-on experience with building small-form factor computers, partitioning drives, and other practical computer applications.
Although it was very time-consuming, I now feel much more comfortable with these different tools and am ready to apply them in the future. Additionally, I reinitiated my passion for networking and cybersecurity through the process of completing this server.
Tools and Technologies:
- - Ubuntu OS
- - NGINX
- - MySQL
- - PHP
- - Pterodactyl/Wings
- - Minecraft Forge 1.16.5
- - Port Forwarding
Computer Specifications
Choosing the components for this computer was fairly simple. Modded Minecraft is a RAM intensive application, with at least a quad-core CPU being recommended. I had limited space on my desk so I decided to build in a Mini-ITX case. I wasn't concerned about the limited cooling because the build will not contain a GPU.
- - Intel Core i5 9600k CPU
- - Noctua NH-U9S 92mm CPU Cooler
- - ASROCK B365 Mini-ITX Motherboard
- - G.SKILL TridentZ 16GB DDR4-3200 RAM
- - Inland 256GB NVME M.2 SSD
- - Cooler Master NR200P Mini-ITX Case
- - PowerSpec 650W 80+ Gold SFX PSU
Finished Computer Build
Working in a Mini-ITX case was... interesting. Also, SFX PSU's are smaller than I thought.

Ubuntu Boot and SSH enabled
Successfully installed a dual boot between Ubuntu and Windows! Since I've enabled SSH, the rest of the project's configuration will be done through a terminal on my personal computer.

Uncomplicated Firewall Configuration
Unblocked essential ports needed by the programs on the machine through my mesh router config and the UFW program.
Pterodactyl Install
Pterodactyl is an open-source server management panel for Minecraft. The panel is unique because it allows me to configure the custom.jar and write the launch script for my Curseforge modpacks. After installing all the dependencies (MySQL, NGINX, and PHP), I needed to register a FQDN for my panel so that I can access my server console remotely. I obtained the SSL certificate for my domain after properly setting up the IP designation/port forwarding. This successfully completed the setup of Pterodactyl.

Wings Install
Wings is the server control dependancy for Pterodactyl. The main component of this package is the Docker containers that run the game servers, allowing administrators to scale copies of a server library (i.e Minecraft Version 1.8.9) by deploying the same Docker container rather than configuring 30 different servers. (This process is "Daemonized" so that it runs in the background and executes at boot).
This feature is something I wouldn't utilize due to the smaller scale of my project, but Wings also allows me to manage my server instances, logs, backups, and mods/plugins through a HTTP API. It also includes the same built-in SFTP server of Pterodactyl, allowing me to authenticate users with the same credentials of the panel!
Before installing wings, a few prerequisites were required such as adding Docker and setting up the directory structure for the server libraries.
Servers and Node Setup
Setting up the first node is straight-forward. I needed to run the generated bash command for my newly created node in the terminal to import the intitial config file. After successfully creating a healthy node, I initialized my first server instance which was a Forge Mod called Advent of Ascension.
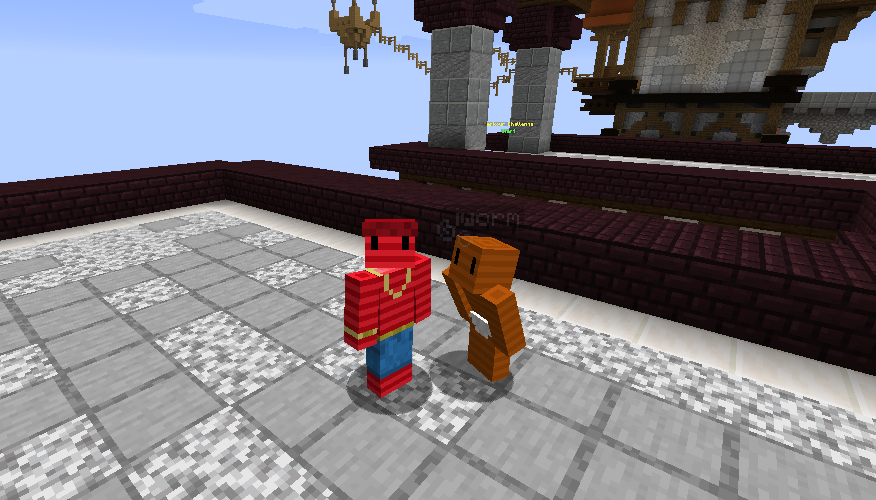
Final Output (my friend being annoying in-game)
I guess it works!
